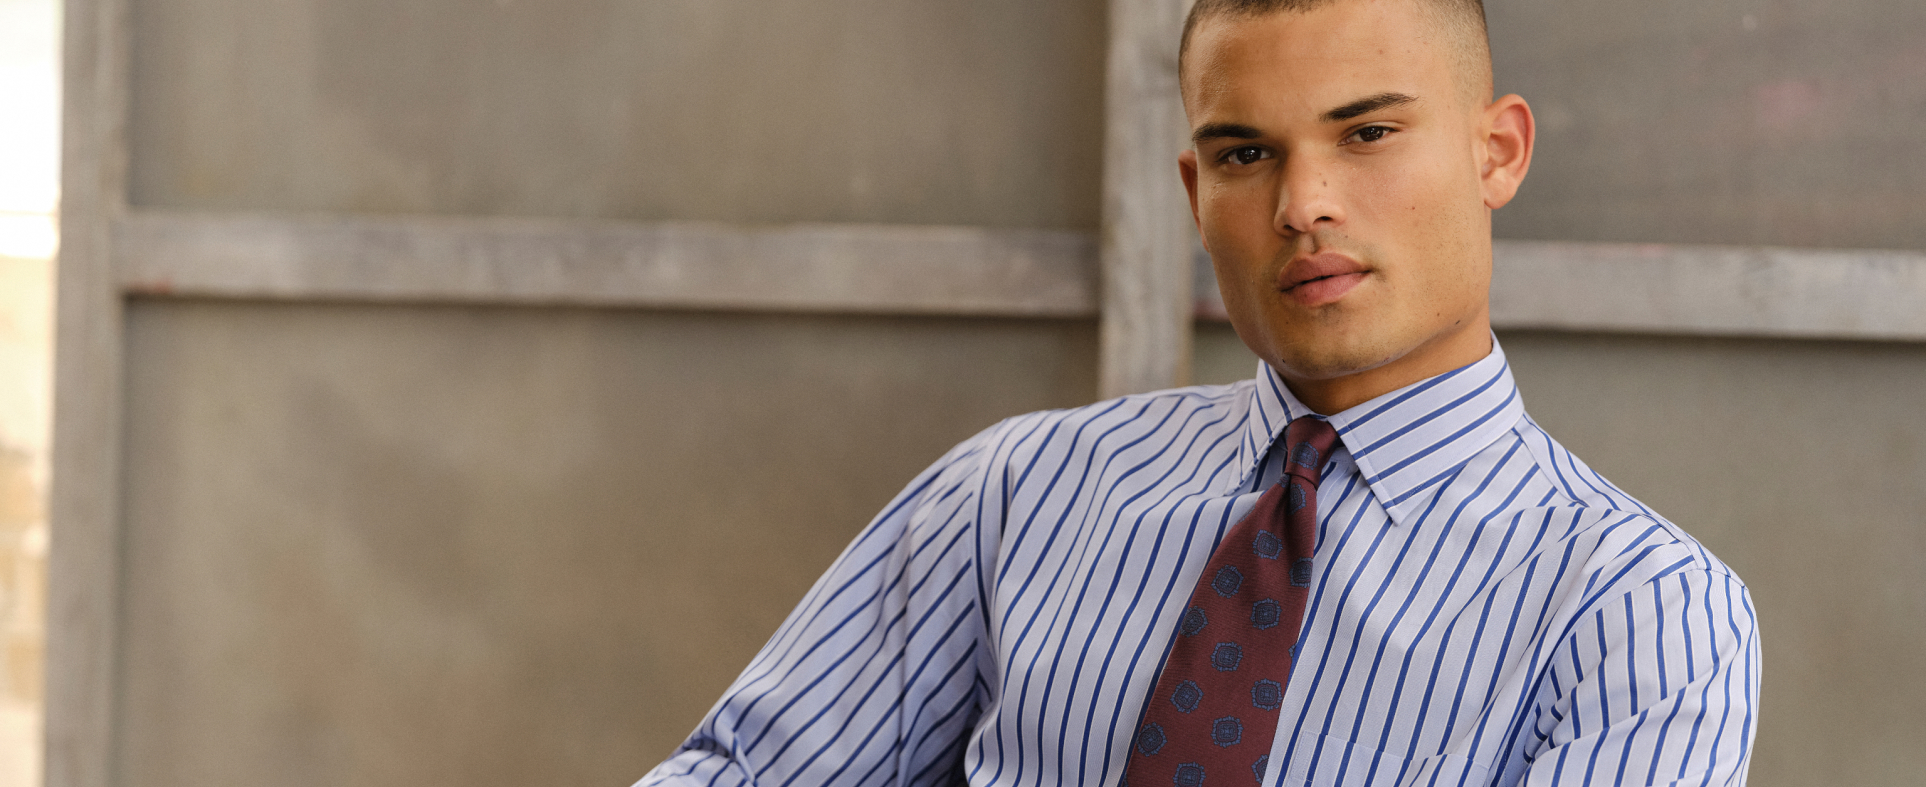
How to Iron a Shirt Step by Step

Ironing a shirt can sometimes feel like a daunting task, but with the right techniques, it becomes a simple and rewarding process. Whether it's a dress shirt for a formal occasion or a casual linen shirt for a relaxed outing, knowing how to iron your shirt properly ensures you maintain its crisp and polished appearance.
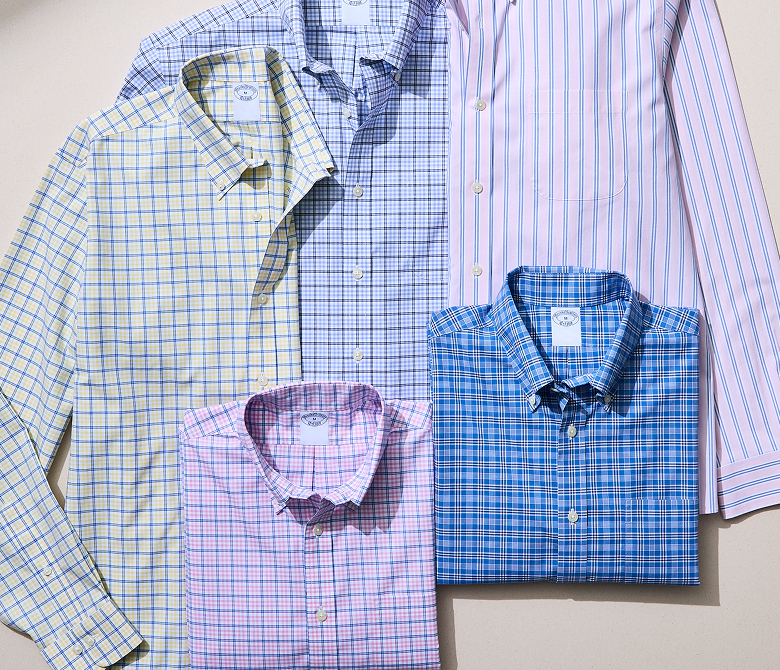
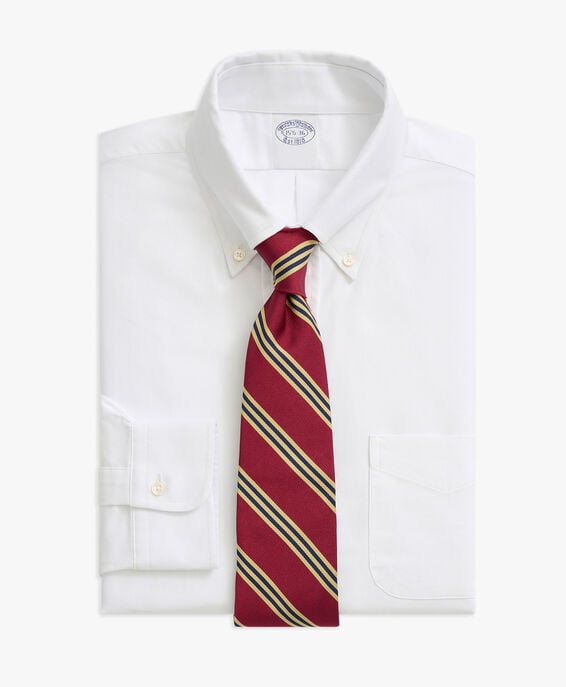
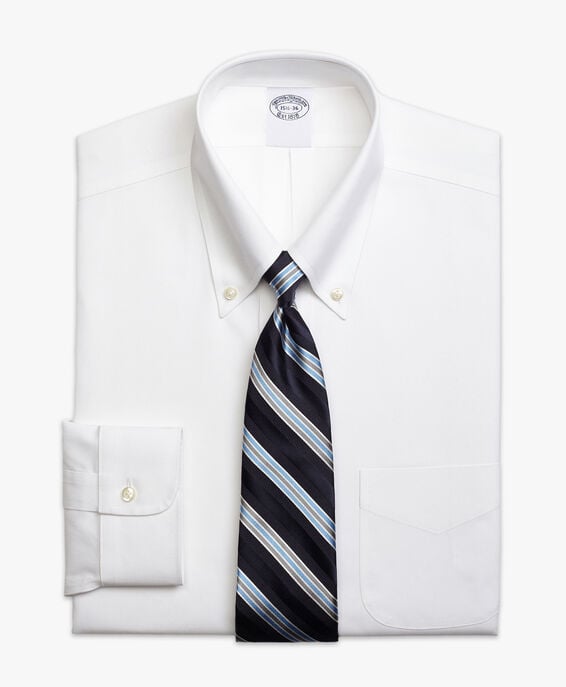
Image 1

How to Iron a Shirt Without an Iron

If you find yourself without an iron, don't worry; there are alternative methods to achieve a wrinkle-free look. Hang your shirt in the bathroom while taking a hot shower, and the steam will help relax the fabric. Another trick is using a hairdryer with a misting spray bottle. Simply dampen the shirt, then blow hot air on it, smoothing out wrinkles as you go.

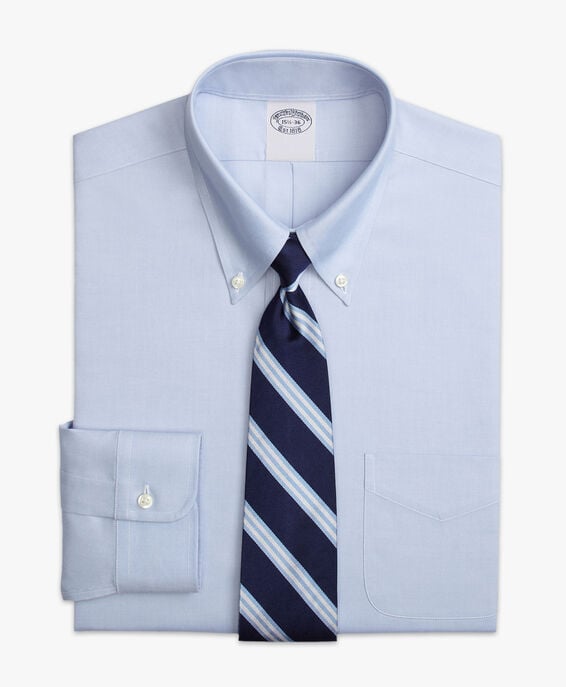
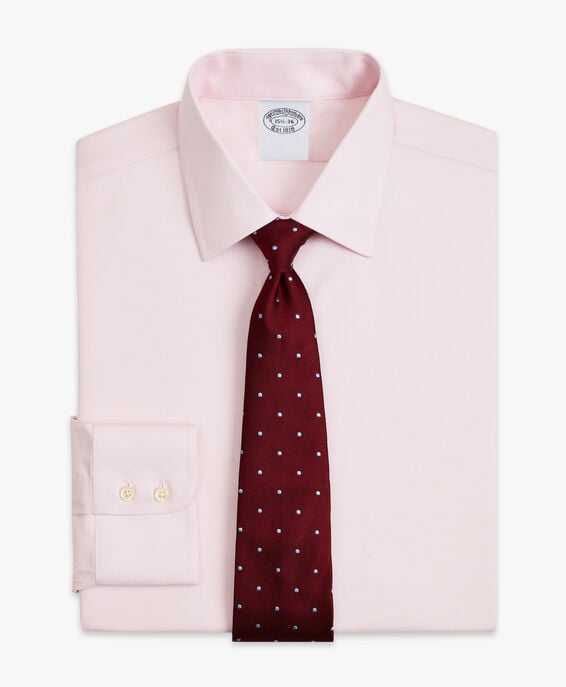
Image 2

How to Iron a Dress Shirt

  • Set Up Your Ironing Board: Make sure your ironing board is clean and sturdy;
  • Check the Fabric: Different dress shirts may have various fabric compositions. Adjust the iron temperature accordingly;
  • Collar First: Start with the collar. Lay it flat and iron both sides;
  • Iron the Yoke and Shoulders: Move to the yoke and shoulders, smoothing out any wrinkles;
  • Iron the Sleeves: Follow the steps outlined above for ironing shirt sleeves;
  • Front and Back Panels: Iron the front and back panels, paying attention to the button placket and any pockets;
  • Button-Up: If the shirt has buttons, button it up while ironing to maintain proper alignment.
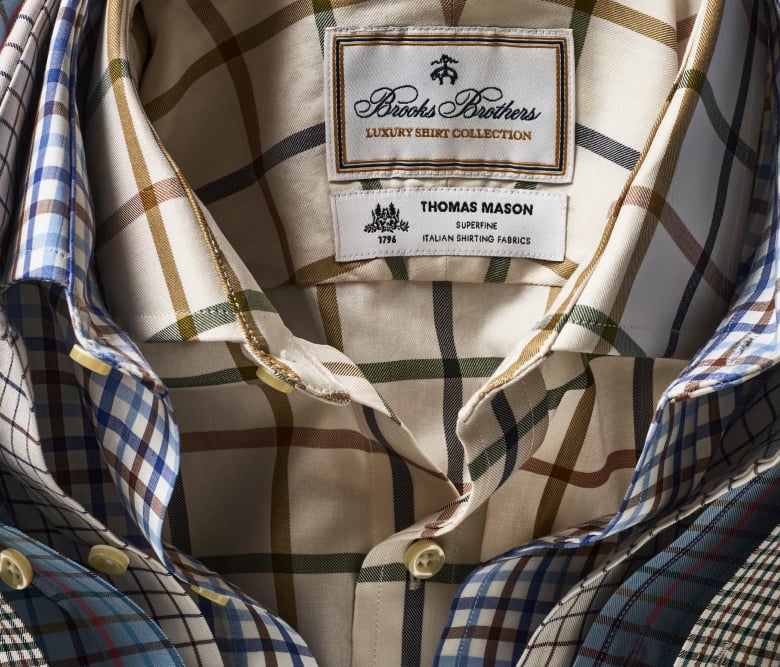
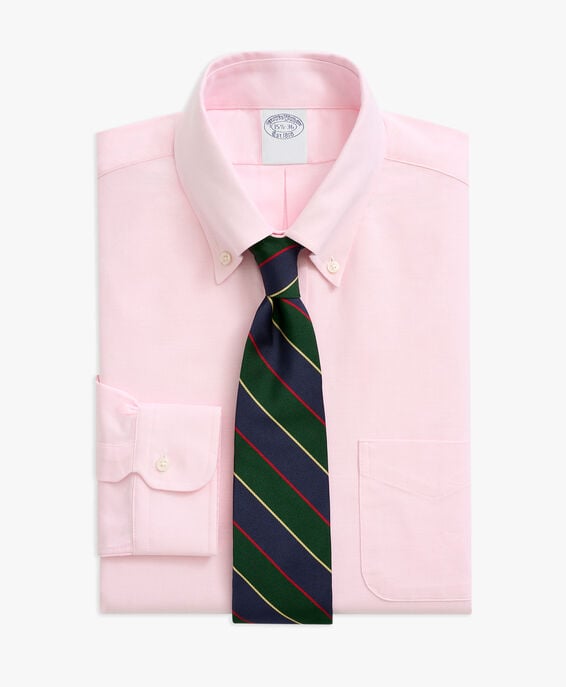
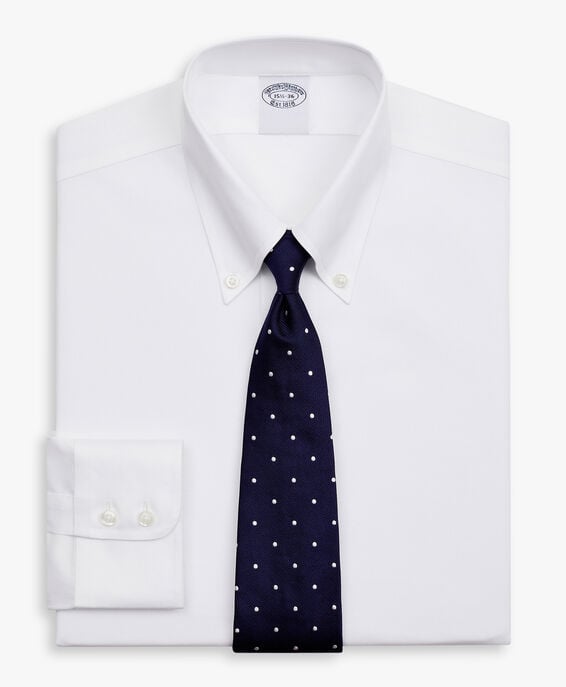
  • Image 3

    How to Iron a Linen Shirt

    Linen shirts have a distinctive texture, and ironing them requires a bit of finesse.
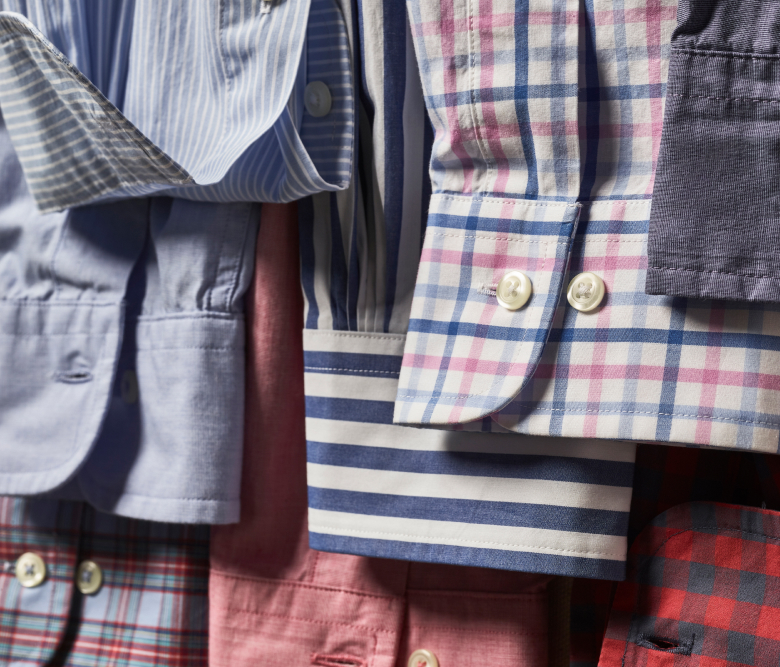
  • Adjust the Temperature: Set the iron to a lower temperature suitable for linen;
  • Spritz with Water: Lightly mist the shirt with water to dampen the fabric;
  • Iron Inside Out: Turn the shirt inside out and iron. This helps prevent a shiny appearance on the outside;
  • Pay Attention to Details: Focus on the collar, cuffs, and button placket to ensure a polished look.
  • Image 3

    How to Iron Shirt Sleeves

  • Prepare the Sleeves: Lay the shirt flat with the sleeves extended;
  • Cuff First: Begin with the cuffs, ironing both sides. Unbutton the cuffs and flatten them out;
  • Iron the Upper Sleeve: Move to the upper sleeve, ironing from the shoulder seam down to the cuff;
  • Repeat on the Other Side: Flip the shirt and repeat the process on the other sleeve.
  • Image 3

    How to Iron a Collared Shirt

    The collar is a focal point of any shirt, whether it's a dress shirt or a casual one. Here's a step-by-step guide on how to iron a shirt's collar properly:
    1. Collar Positioning:

  • Unbutton the top button of the shirt;
  • Turn the shirt inside out or flip the collar up to expose the underside.
  • 2. Ironing the Underside:

  • Place the collar on the ironing board with the underside facing up;
  • Iron the underside of the collar, moving the iron from one end to the other;
  • Pay special attention to the edges of the collar.
  • 3. Ironing the Top Side:

  • Flip the shirt back to its right side;
  • Fold the collar down and iron the top side;
  • Start ironing from one end and work your way to the other;
  • If there are buttons on the collar, iron around them carefully.
  • 4. Shaping the Collar:

  • After ironing, shape the collar with your hands to ensure a crisp, well-defined look;
  • Pull the collar outward gently to maintain a nice roll.
  • Image 3

    Additional Tips:

    If your shirt has removable collar stays, take them out before ironing and put them back afterward.
    Use a pressing cloth if you're concerned about direct contact between the iron and delicate fabrics.


    Mastering the art of ironing is a valuable skill, especially when it comes to maintaining the pristine appearance of your Brooks Brothers shirts. Follow these step-by-step instructions, and you'll be able to enjoy your impeccably ironed shirts for any occasion.

    Trending now